Preventing Explosive Foam in Bottle-Conditioned Ginger Beer
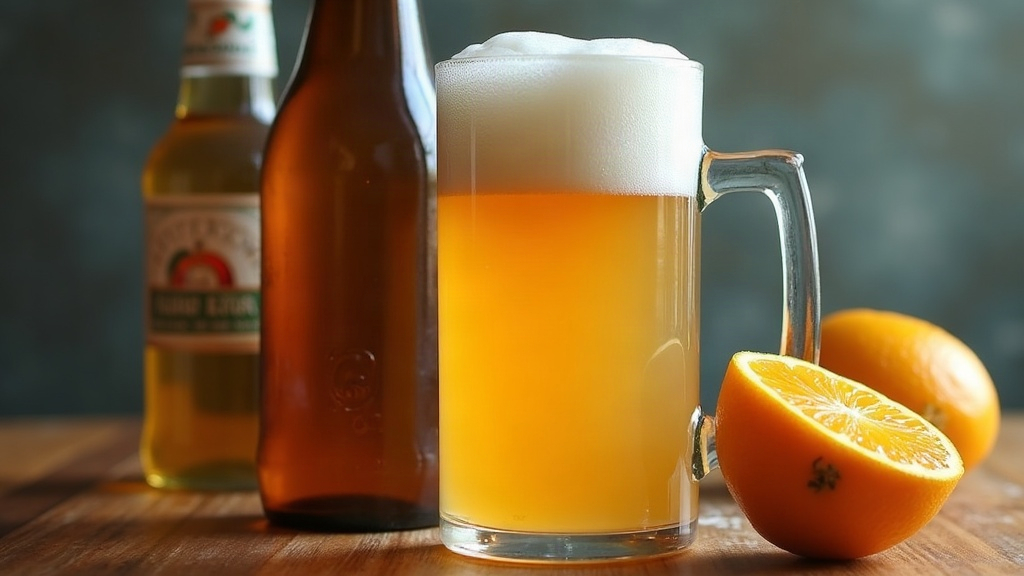
Why Your Ginger Beer Keeps Exploding (And How to Stop It)
Explosive foam, the dreaded “gusher,” is one of the most common problems homebrewers run into when making bottle-conditioned ginger beer with fresh juice. Open a bottle and get a faceful of fizz? You’re not alone. The culprit is almost always uncontrolled residual fermentation. Fresh ginger juice brings wild yeast, extra fermentable sugars, and unpredictable microbial activity to the party, and that activity doesn’t politely stop once you’ve capped the bottle. It just keeps going.
The fix comes down to three things you need to nail before you ever cap a bottle: sugar content, yeast activity, and bottle pressure.
Why Fresh Ginger Juice Causes the Problem
Commercial ginger ale uses stabilized syrup, so it behaves. Homemade ginger beer made with fresh grated or juiced ginger root is a different animal entirely. The root carries natural wild yeasts and bacteria right on its surface. Mix that with sugar and water in a “ginger bug” or starter culture, and you’ve got a living, highly active fermentation that simply won’t stop on command. It’s less like following a recipe and more like managing a small, slightly chaotic ecosystem.
Common triggers of explosive foam include:
- Unmeasured residual sugar left in the liquid at bottling time
- Wild yeast strains that are far more vigorous and unpredictable than brewer’s yeast
- Warm storage temperatures that speed up fermentation inside sealed bottles
- Fresh juice continuing to ferment because it was never pasteurized or stabilized
- Overfilled bottles with too little headspace to absorb CO2 pressure
How to Measure and Control Fermentation Before Bottling
The single most reliable fix? Track specific gravity with a hydrometer. Don’t eyeball it. Bottle only when fermentation has visibly slowed and your gravity readings hold steady across two to three consecutive days, ideally within 0.002 to 0.004 points of each other. If the numbers are still dropping, your yeast is still working, and so will your bottles.
Steps to Reduce Risk
- Taste-test for sweetness. Still syrupy rather than tangy and dry? Fermentation isn’t done yet, no matter what the calendar says.
- Chill the batch for 24 to 48 hours before bottling. Cold slows yeast activity down, which makes your final gravity reading far more trustworthy.
- Strain out the ginger pulp. That solid matter is basically a yeast reservoir, and it’ll keep feeding fermentation once it’s sealed in the bottle with everything else.
- Use measured priming sugar only. Never bottle unfermented must “as is.” Add a small, calculated dose instead, typically ¾ to 1 teaspoon per 12 oz bottle, rather than guessing and hoping.
- Avoid double sugar sources. If your base liquid still has unfermented sugar in it AND you’re adding priming sugar on top, you’re stacking carbonation potential to dangerous levels. One or the other, not both.
Choosing the Right Bottles and Storage
Even a recipe you’ve dialed in perfectly can turn dangerous in the wrong container.
- Use swing-top bottles rated for pressure, or heavy glass soda/champagne bottles. Never reuse thin wine bottles; they’re not built for this and can shatter.
- Keep bottles in a cool, dark space (60 to 68°F / 15 to 20°C) during conditioning.
- “Burp” the bottles daily for the first 3 to 5 days by briefly cracking the cap to let excess pressure escape.
- Store finished bottles upright, in a tray or bin, just in case something overflows when you’re not looking.
Signs You’re Heading Toward a Gusher
Keep an eye out during that first week of conditioning. These are your warning lights:
- Bottles feel rock-hard, no give at all when squeezed (for plastic) within 24 hours
- Visible bulging on swing-top caps
- Audible hissing or fizzing coming from sealed bottles
- A cloudy, actively bubbling look visible through the glass
Spot any of these? Refrigerate the whole batch right away. Cold temperatures (34 to 38°F) slow yeast activity dramatically and buy you the time you need to vent bottles safely, outdoors or over a sink, before they vent themselves all over your kitchen.
A Safer Long-Term Approach
Want more consistent results? Split the process into two stages. Ferment fully in a sealed fermenter with an airlock until gravity stabilizes, then bottle using a precisely measured priming sugar dose, rather than letting the whole thing ferment directly in the bottle. This keeps the unpredictable wild fermentation phase separate from the carbonation phase, and that separation is where you actually gain control.
Conclusion
Explosive foam in bottle-conditioned ginger beer isn’t bad luck. It’s a sign that fermentation wasn’t tracked or controlled closely enough before bottling. Measure your gravity, chill before bottling, strain the pulp, use calculated priming sugar, and store your bottles cool with daily burping. Do that, and you get a naturally carbonated, ginger-forward brew, minus the mess, the risk, and the wasted batches.