Beginner Guide to Salt Percentages for Fermenting Shredded Turnips
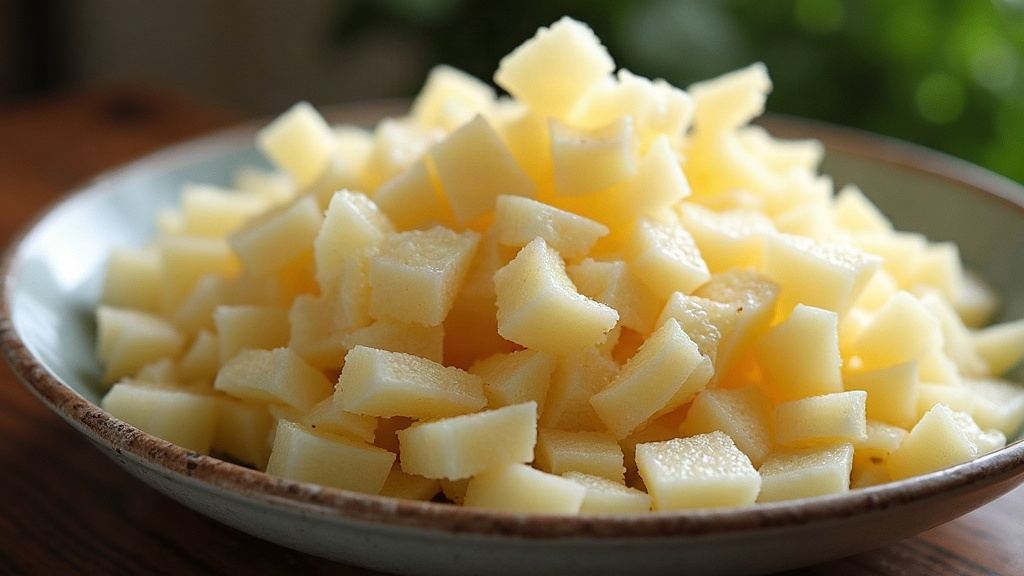
Fermenting Shredded Turnips Without a Brine
Fermenting shredded turnips without a brine comes down to one trick: salt pulls the water out of the vegetable, and that water becomes the brine. Nail the ratio, usually 2% to 2.5% of the turnip’s weight, and you end up with a crisp, tangy ferment without adding a single drop of water. Skimp on salt and you’re rolling the dice on spoilage. Overdo it and fermentation grinds to a halt. Here’s exactly how to measure, mix, and keep an eye on a dry-salted turnip batch.
Why Dry-Salting Works for Shredded Turnips
Shredding exposes a lot more surface area, so salt pulls moisture out fast and evenly, far quicker than it would with whole or chunked roots. It’s the same logic behind classic sauerkraut, and turnips take to it well: they’re mostly water, yet firm enough to hold their shape and crunch under pressure.
With brine-based ferments, you mix up a saltwater solution and submerge the vegetables in it. Dry-salting skips that step entirely, the turnip makes its own brine. No water to measure, no concentration to guess at. Just weight and a calculator.
The Right Salt Percentage
Figure your salt against the total weight of the shredded turnips, not by eyeballing spoonfuls. Here’s how the percentages shake out in practice:
- 1.5% — Ferments quickly and stays lively, but beginners run a higher risk of mushy or spoiled batches.
- 2% — The default for most home fermenters. Balanced, safe, and the texture holds up.
- 2.5% — Slower and tangier, with a firmer bite. Worth using in warm kitchens or for ferments you plan to let run 3+ weeks.
- 3%+ — Skip this for turnips. It chokes fermentation and the end result just tastes salty.
How to Calculate It
- Weigh the shredded turnips in grams. A kitchen scale isn’t optional here, cups and tablespoons won’t give you anything reliable.
- Multiply that number by your target percentage (0.02 for 2%, say).
- The result is how many grams of salt you need.
Example: 1,000g of shredded turnip × 0.02 = 20g of salt. That’s it.
Stick to plain, non-iodized salt: kosher, pickling, or fine sea salt all work. Iodized salt can stall fermentation and leave the turnips looking discolored.
Step-by-Step: Dry-Salting Shredded Turnips
- Peel and shred the turnips with a mandoline, food processor, or box grater, whatever gives you consistent, thin strips.
- Weigh the shredded turnips before you add anything at all.
- Calculate your salt and add it (2% is a safe starting point if you’re new to this).
- Massage for 5-10 minutes. This isn’t just stirring, you’re breaking down cell walls so the liquid comes out.
- Let it rest 10-15 minutes, then massage again if you don’t see liquid pooling at the bottom yet.
- Pack it tightly into a clean jar, pressing down hard enough to push out air pockets. The liquid should rise above the turnip shreds once packed.
- Weigh it down with a fermentation weight or a small bag filled with brine so everything stays submerged.
- Cover loosely. An airlock lid works, or just cloth secured with a rubber band, anything that lets gas escape without inviting dust or bugs in.
What If There’s Not Enough Liquid?
Turnips usually give up plenty of liquid on their own, but if an hour of resting and massaging still leaves shreds poking above the surface, you’ve got two moves:
- Give it another hour covered. Osmosis isn’t instant.
- Mix up a small batch of 2% salt brine separately and top off the jar with that, rather than throwing in more dry salt.
Don’t add extra dry salt at this point. It’ll push your ratio way past what the actual liquid in the jar can handle.
Signs of a Healthy Ferment
- Bubbling starts within 2-4 days at room temperature (65-75°F / 18-24°C)
- The smell turns sour and a bit funky, think pickles, not garbage
- Turnips stay under the liquid line and keep their crisp-tender bite
- The brine goes a bit cloudy (totally normal) but never slimy, never fuzzy with mold
Start tasting around day 5. Most batches hit their stride somewhere between 1 and 3 weeks, depending on your kitchen’s temperature and how sour you like things.
Common Mistakes to Avoid
- Eyeballing the salt instead of weighing it. This alone causes most failed ferments.
- Not massaging enough. Without enough liquid, you get dry pockets, and dry pockets grow mold.
- Reaching for iodized or anti-caking salt. It discolors the vegetables and interferes with fermentation.
- Forgetting the weight. Turnip shreds float. Anything poking above the brine is an invitation for mold.
Final Thoughts
Once you’ve got the salt math down, fermenting shredded turnips without a brine is about as forgiving as home fermentation gets. Default to 2% of the vegetable’s weight, weigh everything on a scale rather than guessing, and massage until the liquid actually shows up. Stay consistent with your ratios and keep things reasonably clean, and you’ll get crunchy, tangy turnips batch after batch, no brine required.