Grow a Vinegar Mother from Pear Cider for Perry Vinegar
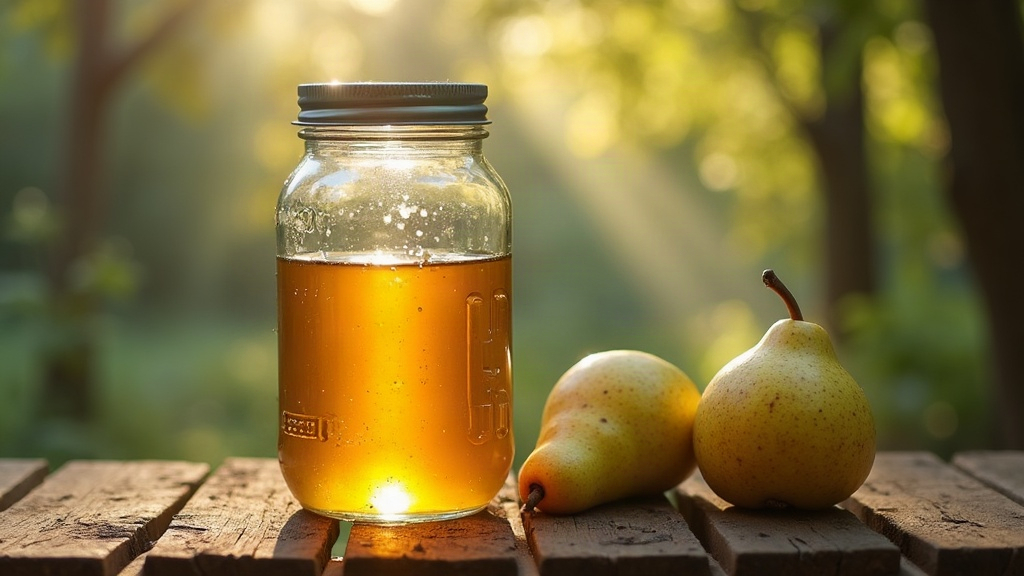
Growing a vinegar mother from unpasteurized pear cider is, hands down, one of the most satisfying ways to end up with a genuinely artisanal perry vinegar. Raw pear cider is already loaded with live wild yeasts and acetic acid bacteria, so you’re not starting from zero. No packet starter, no shortcuts bought online. This guide walks you through cultivating a healthy mother from scratch and turning it into a fragrant, tangy perry vinegar right on your kitchen counter.
Why Pear Cider Makes a Great Vinegar Base
Perry (fermented pear juice) has a delicate floral sweetness that carries over into vinegar form surprisingly well. Unlike apple cider vinegar, perry vinegar brings subtle notes of honey, blossom, and a touch of tannin, which is exactly why chefs reach for it in vinaigrettes, shrubs, and finishing sauces.
Using unpasteurized cider isn’t optional, it’s the whole point. Pasteurization kills off the native yeasts and bacteria that would otherwise kickstart acetic fermentation on their own. Raw cider already has:
- Wild yeast strains that convert leftover sugars into alcohol
- Naturally occurring Acetobacter bacteria picked up from the pear skins
- Trace nutrients and pectins that help the mother build a sturdy structure
What You’ll Need
- 1 quart (1 liter) unpasteurized, unfiltered pear cider (hard or soft, ideally no added sulfites)
- A wide-mouth glass jar or crock
- Breathable cloth (cheesecloth or a coffee filter) and a rubber band
- A warm, dark spot (65-80°F / 18-27°C)
- Patience. Real patience. 4 to 12 weeks’ worth.
Skip metal containers entirely. Acetic acid reacts with metal and will throw off both the flavor and the mother’s development.
Step-by-Step: Growing the Mother
1. Choose the Right Cider
Look for anything labeled “raw,” “unpasteurized,” or “unfiltered.” Best case, grab it straight from a small cidery, or press your own if you have the fruit. Steer clear of ciders with potassium sorbate or sulfites; those preservatives are specifically designed to stop the kind of bacterial growth you’re after.
2. Set Up the Vessel
Pour the cider into your jar, filling it no more than two-thirds of the way so there’s room for airflow. Cover it with cloth and secure it with a rubber band. This keeps fruit flies and dust out while still letting oxygen in, which is non-negotiable for acetic acid bacteria.
3. Find the Right Spot
A dark pantry shelf with stable temperature works well. Light breaks down the developing culture, and swinging temperatures just slow everything down. Aim for something close to a steady 70°F (21°C).
4. Watch for Signs of Life
Somewhere between week 1 and week 3, you’ll start noticing:
- A thin, cloudy film forming on top
- A faint vinegary smell mixing in with the cidery one
- Small bubbles or a hazy layer just under the surface
By weeks 4 to 8, that film thickens into a gelatinous, rubbery disk, the vinegar mother itself. Color can range from pale tan to grayish to nearly translucent. It might float, it might sink to the bottom. Both are perfectly fine.
5. Taste-Test Regularly
Starting around week 3, dip a clean spoon in and taste it weekly. You’re tracking a shift: the boozy alcohol flavor should fade while a sharp, tangy acidity takes over. Depending on temperature and how strong the cider was to begin with, full conversion usually lands somewhere between 6 and 12 weeks.
Troubleshooting Common Issues
- Mold (fuzzy, colored spots): Toss the whole batch, no exceptions. A real vinegar mother is smooth or rubbery, never fuzzy.
- No activity after 3 weeks: Your cider was probably pasteurized or too heavily filtered. Track down a different source.
- Fruit flies showing up: Check your cloth cover. If it’s loose at all, they’ll find their way to that sweet smell fast.
Using Your Mother for Future Batches
Once it’s established, your pear vinegar mother is good indefinitely. Here’s the routine:
- Pull the mother out and set aside ½ cup of the finished vinegar.
- Pour fresh pear cider into a clean jar.
- Drop the mother back in along with the reserved vinegar to get the next batch going.
Each new generation tends to acetify faster than the last, often in just 2 to 4 weeks, as the bacterial colony builds up strength over time.
Storing and Bottling Perry Vinegar
Once it’s fully acidic (tangy, no sweetness, no booze left), strain out the mother, bottle the vinegar in glass, and tuck it away in a cool, dark cupboard. The flavor actually keeps developing and improving for months afterward.
Final Thoughts
Growing a vinegar mother from unpasteurized pear cider takes time and more than a little patience, but what you get back is a small-batch perry vinegar with a character you simply can’t buy off a shelf. Get the raw cider right, use a breathable jar, keep it warm and steady, and within a couple of months you’ll have a thriving mother and a bottle of vinegar worth bragging about.