Building a Yeast Water Starter from Unsprayed Apple Skins
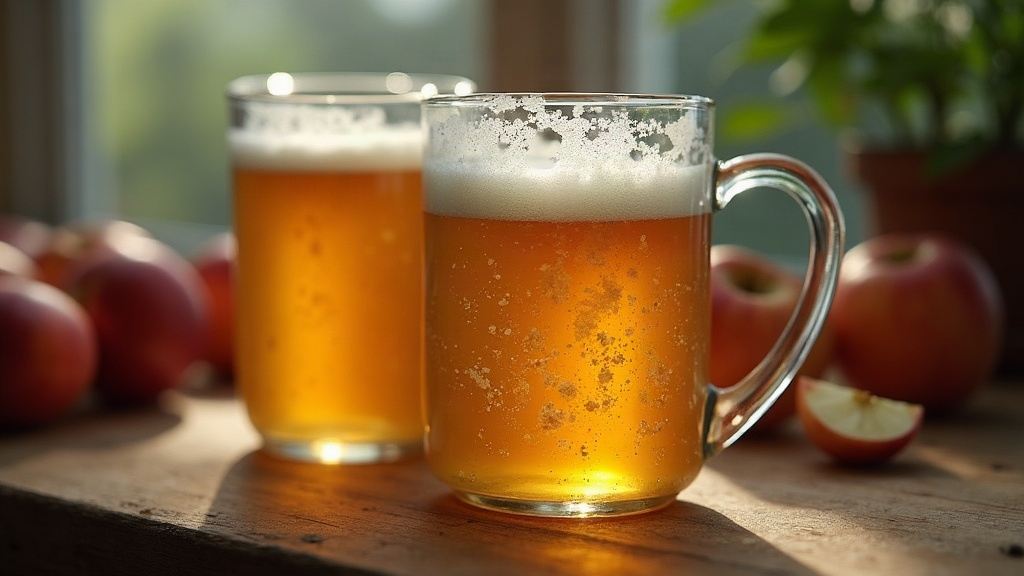
Building a Yeast Water Starter from Apple Skins
Building a yeast water starter from unsprayed apple skins might be the easiest way to catch wild yeast for baking, no flour, no discard, no daily feeding schedule to babysit. Apple skins carry their own coating of wild yeast and beneficial bacteria right on the surface. Mix that with water and a spoonful of sugar, and within days you get a lively, sweet-smelling liquid leaven that can lift bread, pancakes, even pizza dough. Below is the full walkthrough: which apples to pick, how to set the jar up, and what to do when the ferment stalls.
Why Apple Skins Work So Well
Take an unsprayed apple and look closely at the skin. That faint dusty bloom you sometimes see isn’t dirt, it’s a living film of yeast, lactic acid bacteria, and other microbes. Commercial apples usually lose this layer to washing, waxing, or fungicide treatments. Organic or unsprayed fruit keeps it intact, which is exactly why it works so well for wild fermentation.
Compared to a flour-based sourdough starter, apple yeast water:
- Gets going faster, often active within 2-4 days
- Tastes milder, less sour
- Skips the daily flour feeding entirely
- Comes together from scraps you’d otherwise toss (peels, cores)
What You’ll Need
- 2-3 unsprayed or organic apples (skins and cores are enough)
- Filtered or dechlorinated water (chlorine will kill the yeast before it starts)
- 1-2 tablespoons raw sugar or honey (optional, but it speeds things along)
- A clean glass jar with a lid that doesn’t seal tight
- A rubber band or marker to track the water line
Step-by-Step: Building the Starter
1. Prepare the Apples
Give the apples a quick rinse under cool water, just enough to knock off dust. Don’t scrub. Scrubbing strips away the very yeast bloom you’re trying to keep. If you’re working from peels and cores, save them next time you’re eating or cooking with apples anyway. No need to buy fruit just for this.
2. Combine in the Jar
Fill the jar about two-thirds with filtered water. Drop in the skins and cores, roughly a loosely packed cup, then stir in the sugar or honey until it dissolves.
3. Loosely Cover and Wait
Skip the airtight lid. A cloth held on with a rubber band, or a lid just resting on top, gives the yeast the airflow it needs while keeping dust and fruit flies out.
4. Shake Daily
Swirl or shake the jar once or twice a day. This mixes the yeast back into the liquid, lets built-up CO2 escape, and keeps mold from settling on the surface.
5. Watch for Activity
Give it 2-4 days at room temperature, roughly 68-75°F (20-24°C). Signs it’s working:
- Tiny bubbles when you shake it
- A soft fizz when you crack the lid
- A smell somewhere between sweet cider and fresh fermentation
Once the liquid fizzes reliably and smells pleasantly fermented, not rotten, not moldy, it’s ready to strain and use.
Troubleshooting Common Issues
No bubbles after 5 days Could be the water’s too cold, or chlorinated, or the apples were treated with fungicide after all. Move the jar somewhere warmer, or start over with fruit you’re sure is untreated.
Mold on the surface Fuzzy white mold means the batch is contaminated. Toss it and start fresh with a cleaner jar. A thin, flat white film is usually just kahm yeast, harmless, though it can dull the flavor a bit. Skim it off if you see it.
Smells like vinegar or alcohol That’s a sign the ferment has run past its peak. Bake with it right away, or refresh the jar with new apple scraps and a bit more sugar to bring it back.
Using and Maintaining Your Yeast Water
Once it’s active, strain out the solids and keep the liquid in the fridge. A teaspoon of sugar once a week keeps the culture alive, or just use it up within 1-2 weeks while it’s at its best. Swap it in 1:1 for the water in bread, pancake, or pizza dough recipes, and expect the rise time to shift a bit from batch to batch since the strength of the ferment isn’t perfectly consistent.
Conclusion
An apple skin yeast water starter is about as low-effort an entry into wild fermentation as you’ll find. Unsprayed apples, water, a little patience, that’s it. What you end up with is a naturally captured leaven that brings a light, fruity edge to your baking, with no flour discard and no fuss.