Spring Foraging Safety: Fermenting Young Spruce Tips Into Soda
Why Spruce Tips Are Worth Foraging
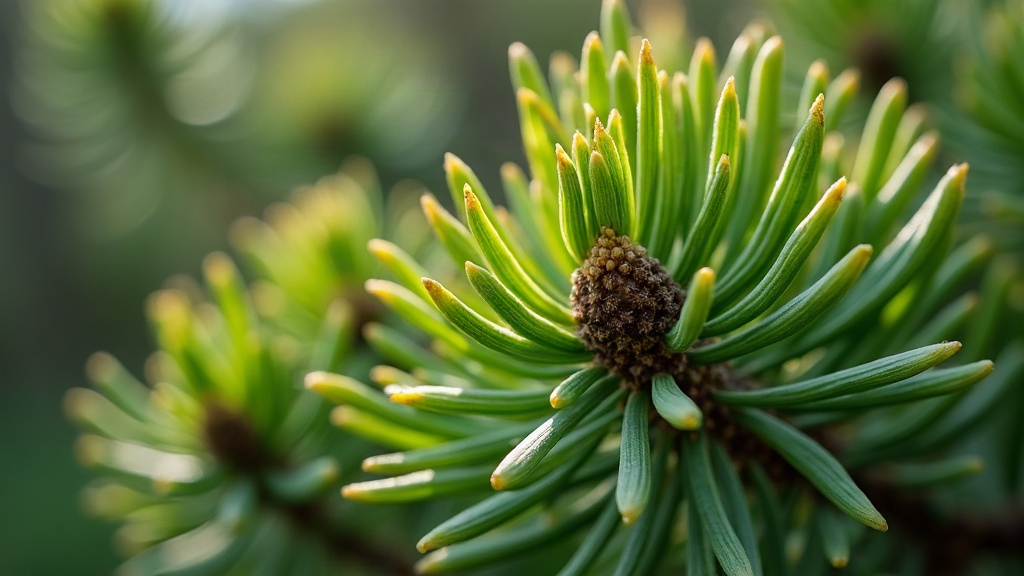
Every spring, usually for a window of just two to four weeks, spruce trees push out new growth called “tips.” These are soft, light-green needle clusters still wrapped in a thin, papery brown husk, and they taste nothing like the tough mature needles on the rest of the tree. Snap one open and you’ll get a burst of citrus and pine, almost like a cross between lemon zest and fresh rosemary.
A few reasons foragers go out of their way for these:
- They’re loaded with vitamin C. Sailors and northern communities historically chewed on spruce tips to ward off scurvy.
- Unlike older needles, they’re tender enough to eat straight off the tree.
- The flavor, citrusy, resinous, faintly sweet, works beautifully in sodas, syrups, and even finishing salts.
- They ferment well, turning into a naturally carbonated drink with almost no added effort.
Miss the window and you’re out of luck until next year, so if you want to try this, mark your calendar for early-to-mid spring depending on where you live.
Identifying Spruce Correctly
This is the part you can’t skip or rush. Spruce (genus Picea) has a few reliable tells:
- Roll a needle between your fingers. Spruce needles are square-ish in cross-section and roll easily. Fir needles are flat and won’t roll the same way.
- Look at how the needles attach. Spruce needles grow individually off small woody pegs on the twig. Pine needles, by contrast, grow in bundles.
- Check the color and texture of new growth. Fresh tips are light green to almost chartreuse, soft to the touch, and wrapped in a papery brown sheath you peel back before eating.
- Smell it. You’re looking for citrusy-resinous, not bitter, sharp, or acrid.
Plant ID apps can help point you in the right direction, but don’t rely on one alone for anything you plan to eat or ferment. Cross-check with a regional tree guide, or better yet, ask someone in a local foraging group who’s done this before.
What to Avoid
- Yew (Taxus species) is the big one. It’s highly toxic, and beginners sometimes mistake it for a conifer at a glance. Yew needles are flat, dark green, and attach without the woody peg structure spruce has, and the tree often carries red berries. If there’s any doubt in your mind, walk away. Never harvest conifer tips without being completely certain of the species.
- Stay away from trees near roadsides, parking lots, or anywhere runoff from pesticides or industrial chemicals could reach them.
- Skip areas where dogs are walked regularly or livestock graze. Ground-level contamination is a real concern, and tips low on the tree can pick it up.
Sustainable and Legal Harvesting
- Take no more than 5-10% of new tips from a single tree. Strip more than that and you’ll set back its growth for the season.
- Spread your picking across several trees instead of hammering one.
- Look into local rules before you head out. Public land, state forests, and parks sometimes require a permit, and some ban foraging outright. If it’s private land, get permission first.
- Pick in the morning, once dew has dried. In managed forests or parks, check whether the area has a spray schedule and avoid harvesting right after treatment.
Preparing Spruce Tips for Fermentation
- Rinse gently in cool water, just enough to knock off dirt, sap, and the occasional insect hitchhiker. Don’t soak them; a long soak washes away the aromatic oils that give the tips their flavor.
- Sort through your harvest and toss anything brown, dried out, or visibly damaged.
- Pat dry and use within 24-48 hours. Spruce tips lose their potency fast once picked, so this isn’t an ingredient you want sitting in the fridge for a week.
Fermenting Spruce Tip Soda
This is a wild fermentation project, meaning you’re relying on the natural yeasts already living on the spruce tips (and a little help from unwashed lemon peel) rather than a packet of commercial yeast.
Basic ratio:
- 2 cups fresh spruce tips
- 1 cup sugar (or honey)
- 8 cups water
- A pinch of unwashed organic lemon peel, which contributes extra wild yeast and a touch of acidity
Steps:
- Combine the spruce tips, sugar, and water in a clean glass jar or crock, and stir until the sugar fully dissolves.
- Cover loosely with a cloth, not a tight lid. You want airflow in, bugs out.
- Stir once or twice a day for 3-5 days at room temperature. Small bubbles starting to form on the surface mean fermentation is active and doing its job.
- Strain out the solids with a fine mesh strainer or cheesecloth.
- Pour the liquid into swing-top bottles built to handle pressure, leaving about 1-2 inches of headspace at the top.
- Let the bottles sit at room temperature for 2-4 days to build carbonation. Burp them once a day, cracking the top briefly to let pressure escape, or you risk a bottle bomb.
- Once it’s fizzy to your liking, move the bottles to the fridge to slow things down, and drink within 1-2 weeks.
Safety Notes for Fermentation
- Use swing-top bottles or thick glass rated for pressure. A regular glass bottle, like an old juice container, can shatter under carbonation pressure.
- Burp daily while the soda is carbonating. Skipping this is the most common way people end up with broken glass and sticky floors.
- Trust your nose. If it smells rotten, moldy, or just “off” instead of tangy and lightly fermented, toss it. Don’t taste-test to find out.
- Get it into the fridge as soon as it’s carbonated the way you like. Letting it sit at room temperature too long can over-pressurize the bottle.
Conclusion
Spruce tip soda is one of those small projects that genuinely captures a season in a glass. Bright, piney, faintly sweet, and fizzy entirely from wild yeast doing its thing. None of it works, though, if you skip the fundamentals: identify the tree correctly (and never gamble on anything resembling yew), harvest responsibly, process the tips quickly, and respect the pressure building up in those bottles. Nail those four things and you’ll end up with a soda that tastes like spring in a way nothing store-bought ever will.